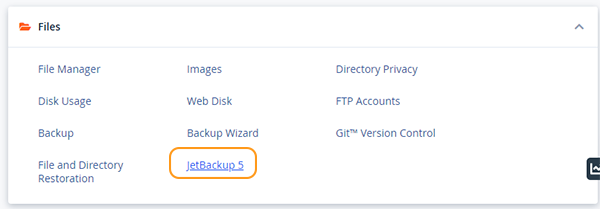
Here is a step-by-step on how to navigate JetBackup, it is fairly simple and user-friendly.
This article is about the use of JetBackup, a 3rd party tool for cPanel, and is thus not available in every cPanel.
- Inside cPanel we click on JetBackup 5 ( Not to be mixed with cPanel’s default Backup / Backup Wizard which you can use to create full and partial backups for download as well )

- On this page, we will be looking at how we would either download or restore a particular Database ( You can download to restore files, databases, email accounts, full accounts, you have the option for almost everything )
- This guide is for database restore ONLY. If you need to restore other aspects of your account or your whole account then you need to select it. Do not just follow this guide as it will only result in getting your database restored. If you need to restore the full account then select Full Backups

- Next, we click on the Databases button, which will open up the page where we can review all our databases. We can then use the search function if we have too many databases, or scroll down to the database and click it, and select the date we would like to roll back to (see image below)

- You have then the option of Restore or Download once you have selected the backup. This can be applied to all other tabs for other functionalities such as Email, Full backup, Cronjobs, Certificates etc.
Wait 10 to 15 minutes for you account to restore, depending on the backup size.
That is it!.
