This article is a step-by-step to learn how to upgrade your VM between levels.
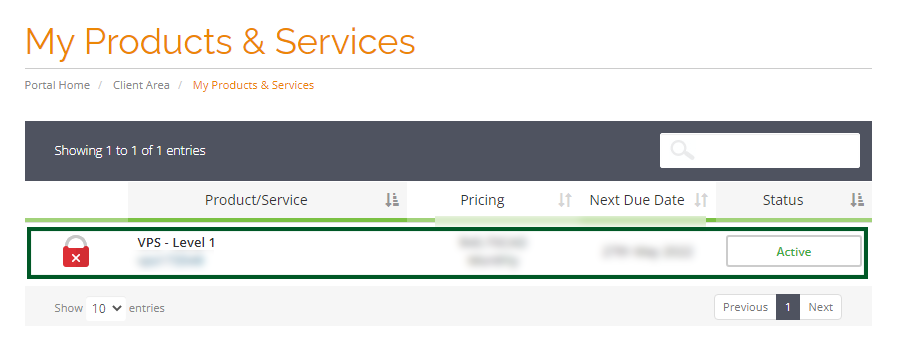
- Inside your Secure Orangewebsite, we click on the My Services under the Services menu header. (see image below)

- Next, we need to select the service you wish to manage, in this example case we will be clicking the only product which is our VM (see image below)

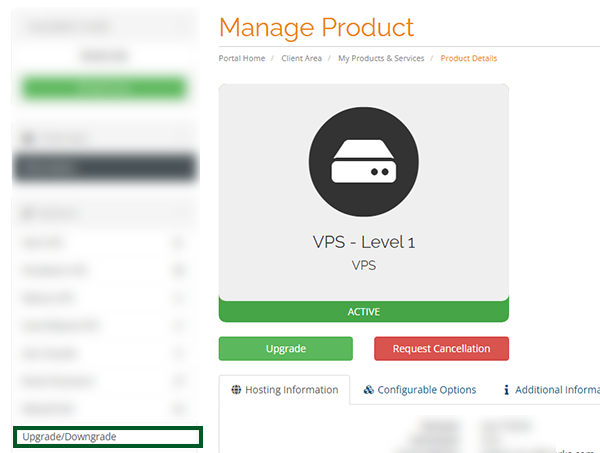
- When we click the product we will see a management page like the one below (see image)

- Next, click the Upgrade/Downgrade button on the left-hand side, this will take you to the tab where you can rebuild your VM with all our available images. (see image below)

- On this page, you can select between VPS Level 2 to VPS Level 6 (the current server in the picture is Level 2 which is why Level 1 is not visible). You then select your cycle in the dropdown and finally click Choose Product. This process is not automatic, but our support team is quick on their feet.
