
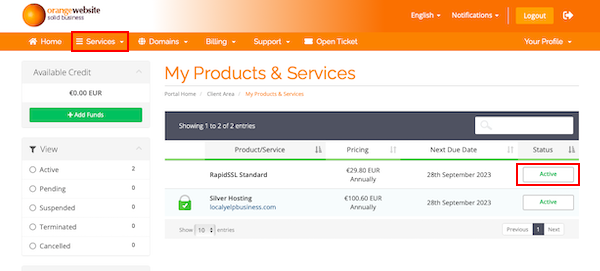
- First off you will need to access your client area with Orangewebsite.com where you will find your Services tab. From there find the SSL service that you have ordered through us and click on the Active button next to that service.
- From here you will see a setup field to “Configure SSL Certificate“. First, click on the drop-down and choose “New Order” and then Generate CSR.
You can leave the inputs as is (except Email Address) or if you wish, you can put in your information.

- For the next field, “Administrative Contact Information” you can leave the default information if you wish (except Email Address), and then click on Click to Continue

- You will next have to choose a validation method. When choosing a validation method the simplest way is via email which you can choose from the list provided. In this example, we will be using email validation.
You will first have to log into your cPanel, then click Email Accounts under the Email header, and then set up the email you wish to use.
In most cases, this would be “admin@yourdomain.com“. If you are unsure of how to do this please read How to Create Email Accounts. - After it’s created you can proceed with the configuration and an email will be sent to the address chosen, this may take a few minutes to an hour. If you don’t receive an email please contact technical support as your MX records may not be set.

- Once you have received the email, open it, and click on the validation link which if successful will take you to another webpage where you should click Approve Request.
It will look like the image below
- After validation is complete go back to your SSL configuration page and you will see that your certificates have arrived (this may also take a few minutes after you validated the email).
You will need the CRT, Intermediate/Chain, and Private Key.
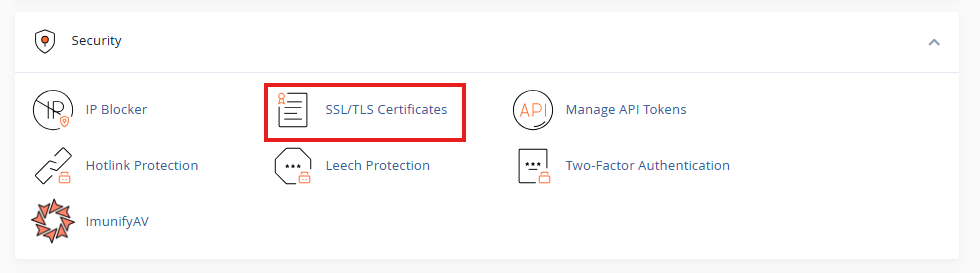
- The next step is to open your cPanel and click SSL/TLS Certificates under the Security header.
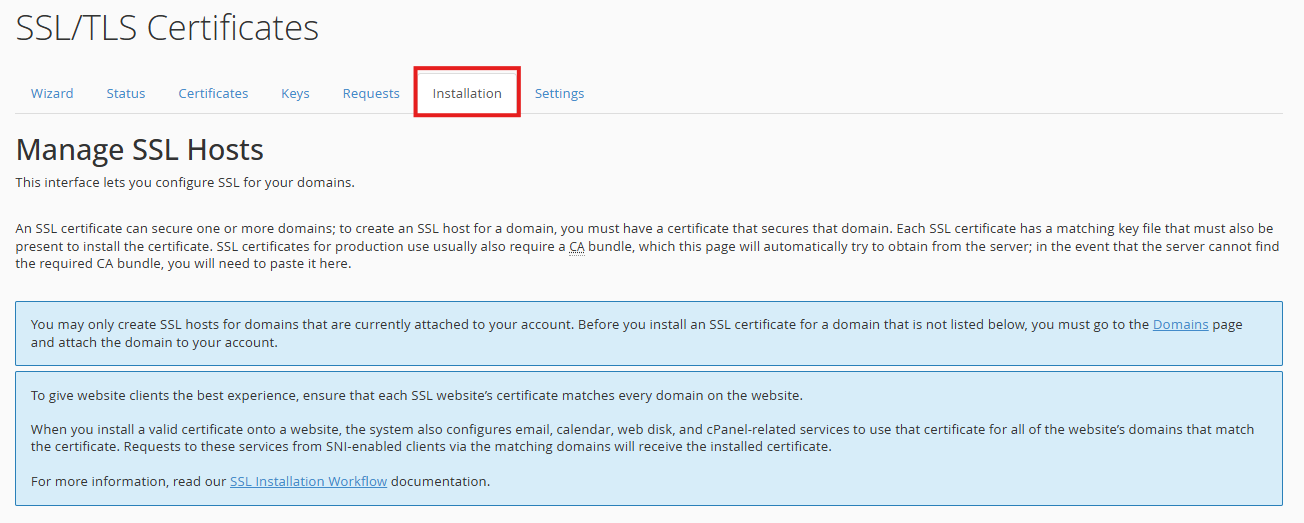
- On the next page choose Installation
- Scroll to the bottom and you will see 4 fields to fill
– Domain
– Certificate: (CRT)
– Private Key (KEY)
– Certificate Authority Bundle: CABUNDLE)
You can copy and paste in details from your Certificate in your client area, you will paste the Certificate to the “Certificate: (CRT)” textbox, paste the Private Key to the relevant “Private Key (KEY)” textbox, and then the Intermediate/Chain files into the “Certificate Authority Bundle: (CABUNDLE)“
- Click the Install Certificate and you are done.
Congratulations, you have now installed your SSL certificate. Support can assist you if you ever have issues with the installation of your certificate.
How to Setup and Install your SSL via your cPanel
Updated on April 3, 2026