Here are the step-by-step instructions on how to install WordPress from your cPanel dashboard.
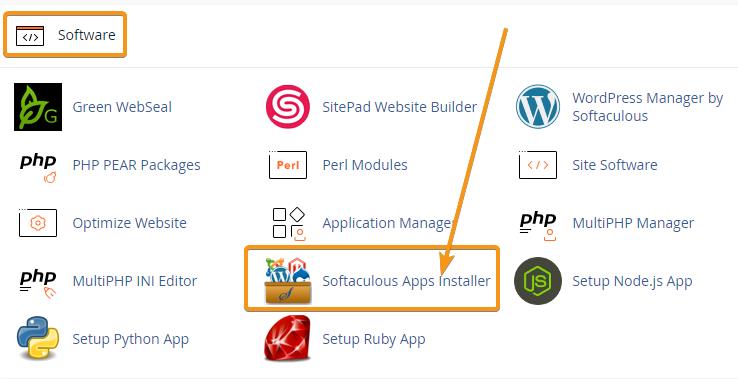
- Inside the cPanel, click on the Softaculous Apps Installer which can be found under the Software heading (see picture below).
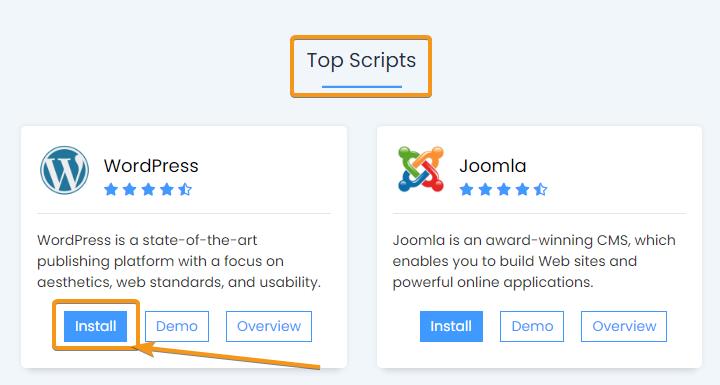
- Next, click on the Install button in the WordPress Card under the Top Scripts heading (see image below).
.
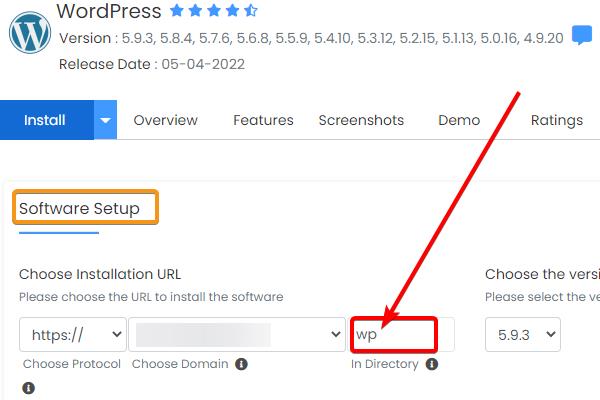
- Next, review the Software Setup section. Your primary domain name should show by default. WordPress will automatically install in mydomain/wp. To install only on mydomain/, then leave this directory field empty. by deleting the wp (see the image below).
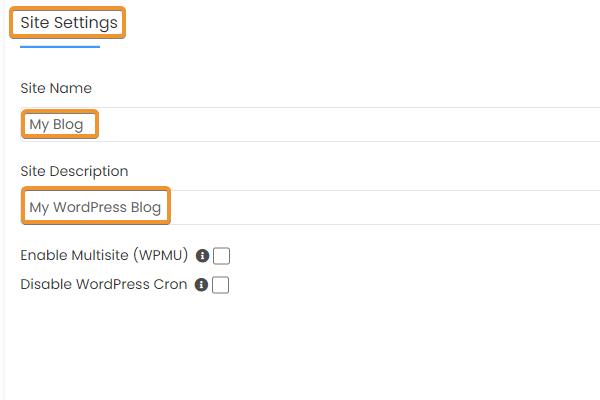
- Next, in the Site Settings section, you can enter your Site Name and Site Description. Once WordPress is installed, you will be able to change the Site Name and Site Description at any time. You do not need to Enable Multisite, and you do not have to Disable WordPress Cron.
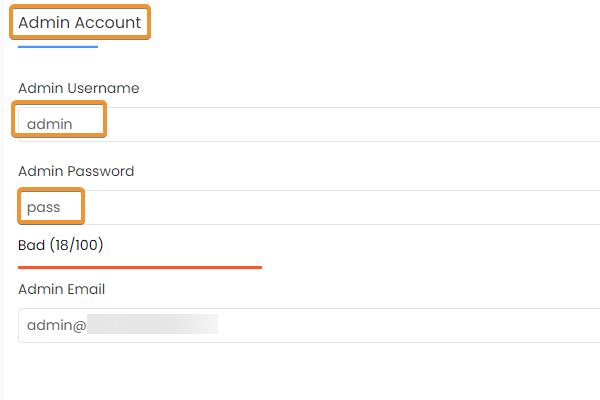
- Next, in the Admin Account section, you can enter an Admin Username and Admin Password. You can also set your Admin Email here too.
- You can select your language in the Choose Language section. The default language is English.
You can leave the Select Plugin(s) section as-is for now. You will be able to install plugins at any time after this WordPress installation.
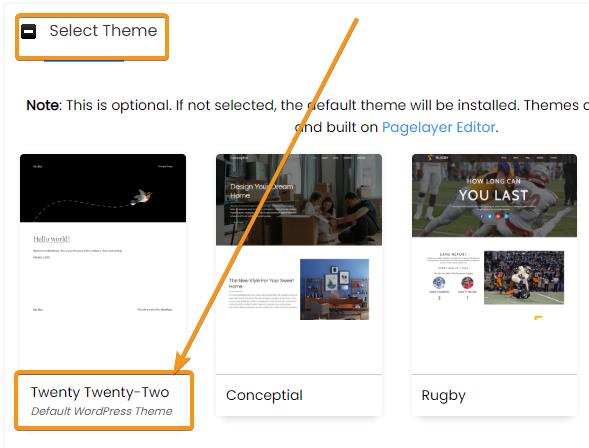
You can also skip the Advanced Options section. - The next section is called Select Theme. You can select whichever theme you want, and you can always decide to change your theme later on. For this example, we will select the default WordPress Theme called Twenty Twenty-Two.
- At the bottom of the WordPress Installation page, you have the option to enter your email address to have the WordPress installation details emailed to you.
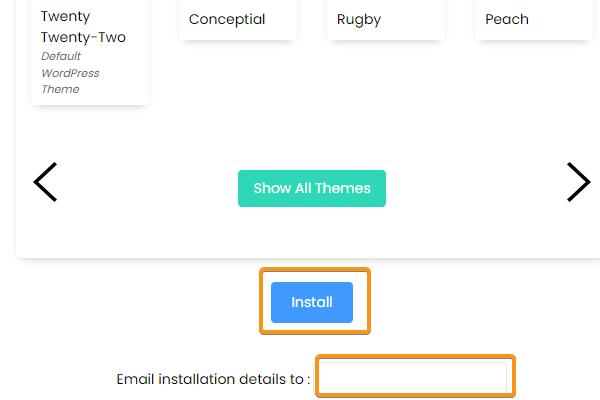
- Finally, click on the Install button located at the bottom of the page.
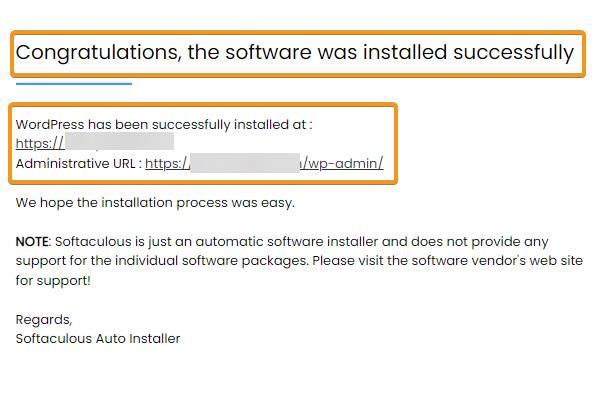
- You will know that your WordPress Installation was successful when you receive the following notification.
