
Issue: Your WordPress site is slow to load.
The WordPress Heartbeat API lets your site communicate between the browser and the server. It helps with better session management, tracking changes, and auto-saving your work.
The WordPress Heartbeat API uses /wp-admin/admin-ajax.php to handle AJAX calls from your browser. This is great because it means WordPress can keep tabs on what’s happening in the dashboard.
Unfortunately, this can cause a lot of requests to admin-ajax.php, which can lead to higher CPU usage. If you leave a browser open on a page using the Heartbeat API, it could become a problem.
How WordPress Heartbeat API Works
The WordPress Heartbeat API takes care of the main WordPress admin dashboard page too. So, if you log in to WordPress and then minimize the window to do something else, you’ll notice requests for admin-ajax.php popping up in your site’s access logs.
When you’re looking at the WordPress dashboard, Heartbeat requests happen every 60 seconds, which is the max the API allows. But if you switch to another tab or window, those requests spread out to every 120 seconds.
Keeping the dashboard open for more than half an hour can lead to over 20 PHP script executions, which can use around six CPU seconds. We wasted CPU power just checking for nothing to happen.
When to Disable the WordPress Heartbeat API
If you notice a lot of admin-ajax.php requests, you can disable the WordPress Heartbeat API to stop this from happening automatically.
It’s worth noting that by default, WordPress uses the Heartbeat API to manage things like post locking, so only one admin can edit a post at a time, and for auto-saving. In the future, developers might use this API even more to handle different tasks, so keep that in mind if you decide to disable it.
Installing the Heartbeat Control Plugin
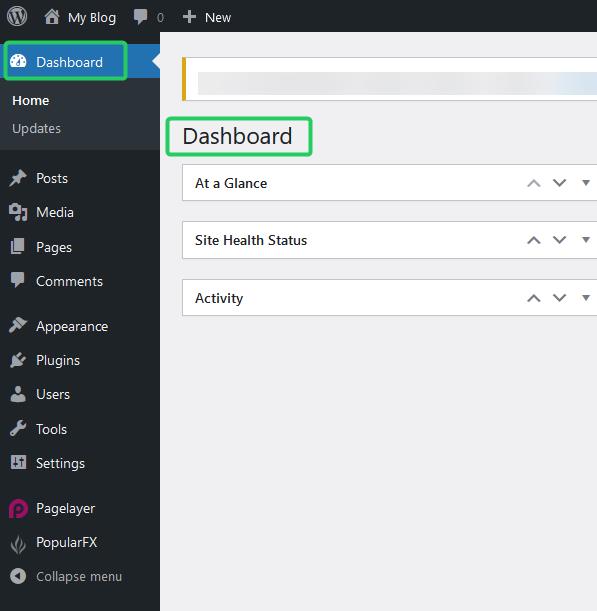
- First, log into your WordPress admin dashboard.
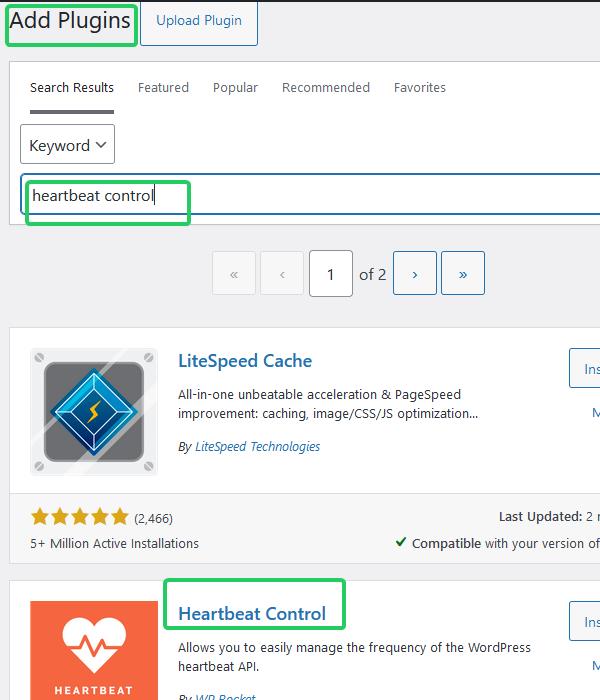
- On this page, enter Heartbeat Control into the search box At the top and press the Enter key on your keyboard to perform the search.
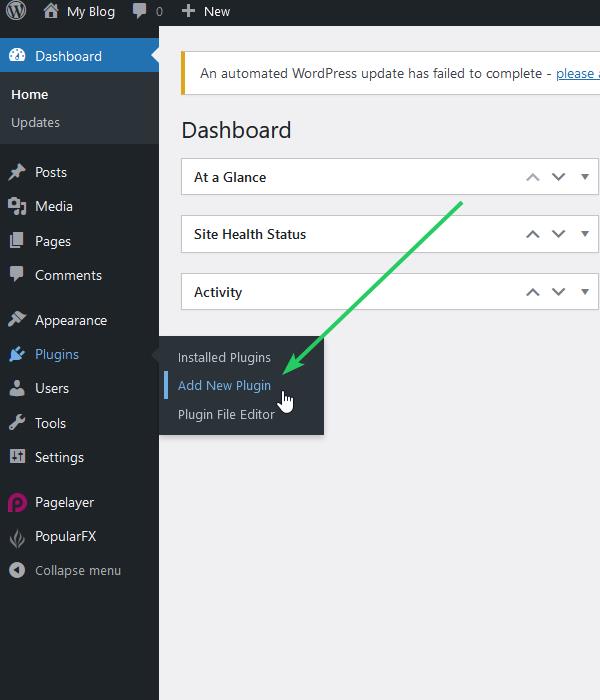
- Within your dashboard, hover over Plugins and click on Add New.
- As you have searched for the exact name of the plugin, it should be the first result that appears. To install it, click on the Install Now button.
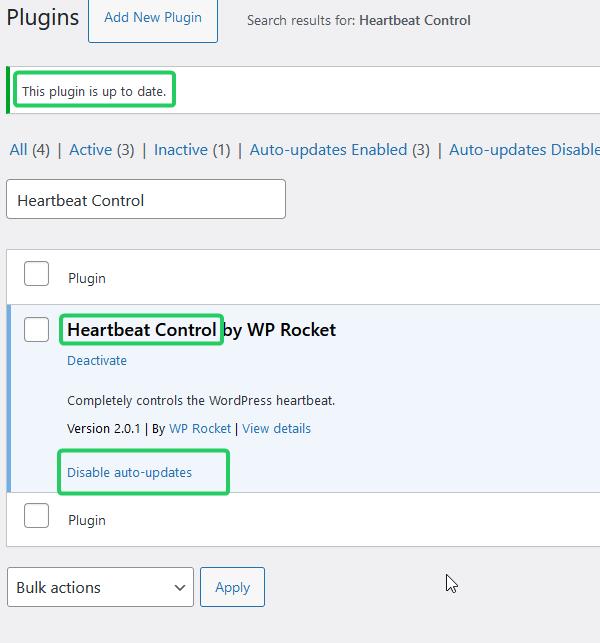
- WordPress will now handle the download and installation of the Heartbeat Control plugin. Of course, be sure to click on Activate Plugin when complete.
Configuring the Heartbeat Control Plugin
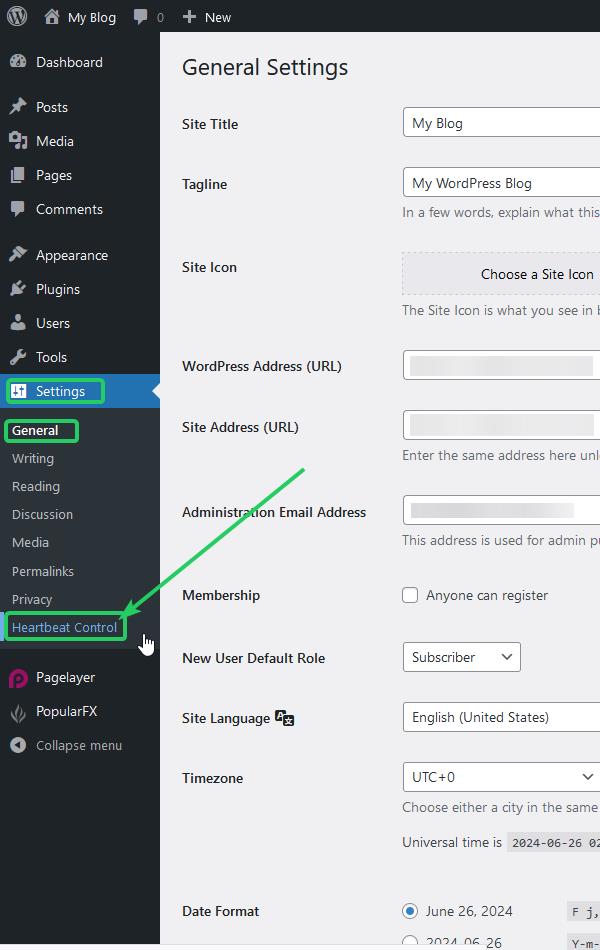
- Now that you have the Heartbeat Control plugin installed, you will need to configure its settings. To access the settings page, hover over Tools on the left side menu bar and click on Heartbeat Control.
- Once on the settings page, you will notice that you can allow, disable, or modify Heartbeat Control in the WordPress Dashboard, Frontend, and Post editor.
You may disable the WordPress heartbeat completely, or only allow it on specific locations such as on the post-edit page.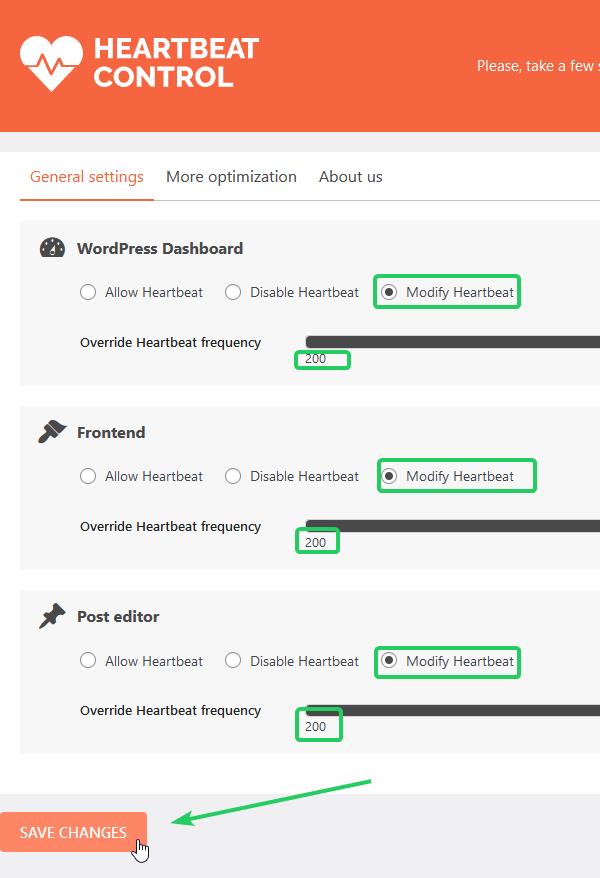
- The slider allows you to determine how often the WordPress heartbeat API will make a request. For example, on post edit pages it makes a POST request every 15 seconds. This can be modified within the heartbeat frequency dropdown to delay it up to 60 seconds between requests which would cut down server resources caused by admin-ajax requests by 75%.
- Once your changes are made, click on Save Changes.
OTHER WAYS TO IMPROVE WORDPRESS PAGE LOAD TIMES:
How to Disable WP-CRON to Improve WordPress Page Load Times
If you notice slowness on your WordPress website, you can disable WP-CRON from happening automatically every time someone visits your site. You can adjust the frequency manually. Read our Knowledgebase Article on “How to Disable WP-CRON to Improve WordPress Page Load Times.”
Use a Caching Plugin
Since our shared servers, including our WordPress-optimized server are all LiteSpeed Servers, using LiteSpeed Cache for WordPress (LSCWP) together will improve performance. Read our Knowledgebase Article on “How to Install LiteSpeed Cache for WordPress (LSCWP)“.
Use a Content Delivery Network
If your web visitors are worldwide, they might experience latency due to the physical distance between them and Iceland. Fortunately, content delivery networks (CDNs) can solve this problem by having cached versions of your websites loaded into their network of servers and data centers strategically placed around the world. Retrieving web files and interacting with a database in your region, will definitely be faster than trying the same from a server on the other side of the world. Read our Knowledgebase Article on “How to Install Cloudflare CDN for WordPress”.
Use Optimized Images
A good rule of thumb is to use images no larger than 100kb in size, especially on your home page. You can manually do this with online tools such as:
– tinify
– Optimizilla
There are also WordPress plugins that can do this:
– Smush
Congratulations! You have now modified the behavior of the WordPress heartbeat API to use fewer resources on the server. If you have any questions about this plugin or would like to request a feature, leave a comment below in I will be happy to answer it.