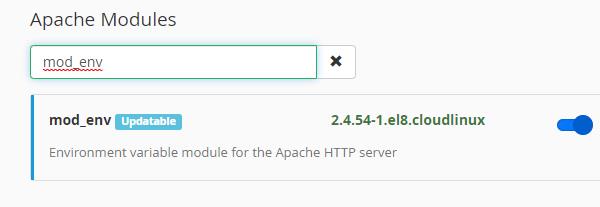
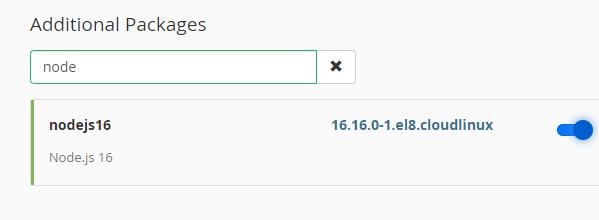
At OrangeWebsite all of our shared servers come equipped with NodeJS and at the time of this article, all our EAs are installed as follows:
- MOD ENV (Installed by Easy Apache as EA-Apache24-MOD_ENV )
- NODEJS16 (Installed by Easy Apache as EA-NODEJS16 )


This is something you do not need to install, you can then just set up your application under cPanel under the node application management tool.
Your application directory would be, https://yourdomain.com/working/
To start your application, you would need a “startup.js” file, located in the working/ directory mentioned above.
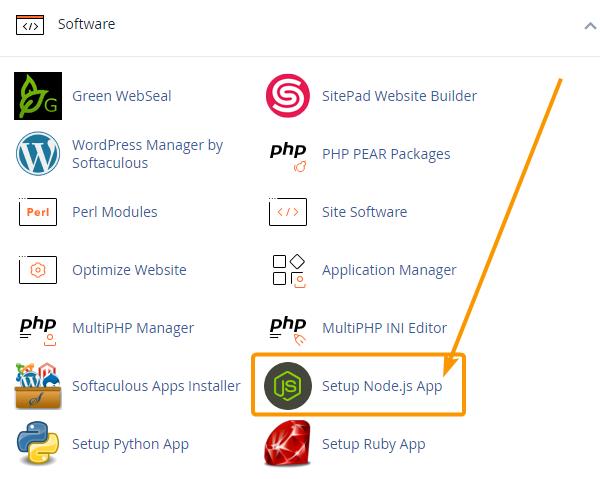
Please also note that we utilize Cloudlinux NodeJS. The selector can be found in cPanel under the Software panel.
All our Node applications are run by a Cloudlinux environment.
A Detailed Example
Below is a detailed example of how to deploy a Node.js application in your Shared Hosting plan via cPanel on a subdomain. It’s not necessary to create a subdomain. If you prefer, you can just use your /public_html folder of your primary domain.
- Create a subdomain by logging into your cPanel dashboard and clicking on the Domains icon in the Domains section:

- Enter the subdomain and click on the blue button to create it:

- Then click on the blue submit button to create the subdomain. In the second field below, make sure to choose /home/username so that it creates a directory in the root folder of your account.

- The new subdomain will show in your domains list:

- You can check via cPanel’s File Manager that the new domain file system has been created:

- Next, you can use File Manager to upload your app files into this folder. For example, this would be the folder to upload the following files:
– app.js
– package.json
Note: If you don’t have package.json, you can install it locally by running the install package.json command from your command line. Once, it’s installed, you’ll need to upload it too.
- Next, start the app under Setup Node.js App under the Software Section,

- Next, click the blue button labeled “CREATE APPLICATION”.

- Next, fill in the required fields, “Application root” (subdomain.yourdomain.com), “Application URL” (subdomain.yourdomain.com), and Application startup file” (for example app.js), and then click on the blue button labeled “CREATE”.

- If you’re using environmental variables, you would add that next. In this test app, I would like to output to my browser on port 8080. Then, click on the blue button labeled “DONE”.

- Next, you can test your app. In this example, we just output “Hello World” to the subdomain we create on the port that we configured:
.
