Here is a step-by-step guide on setting up Mozilla Thunderbird as your Email client. You will then be able to read your emails on your desktop, laptop, mobile phone, or tablet by logging in to your Mozilla Thunderbird email client.
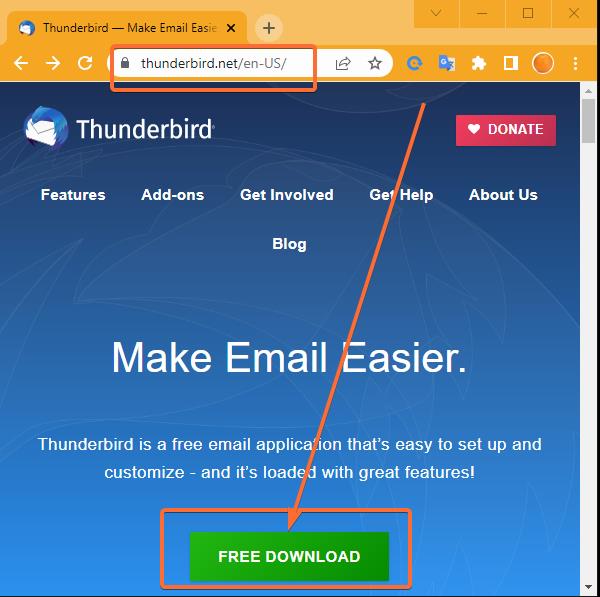
- You’ll now need to download the Mozilla Thunderbird Email Client from their download page.
- When you created your email account in cPanel, you would have received the Client Configuration Settings for the email account you just created. It will look something like this:
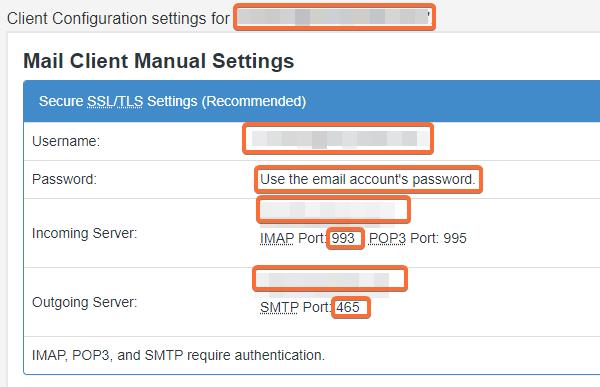
______________________________________
Incoming Server
Server Type: IMAP Mail Server
Server Name: mail.yourdomainname.com
Port: 993
Security Settings
Connection Security: SSL/TLS
Authentication Method: Normal Password
_______________________________________
Outgoing Server (SMTP)
Description: <i.e. full name of email account owner)>
Server Name: mail.yourdomainname.com
Port: 465
Security and Authentication
Connection security: SSL/TLS
Authentication Method: Normal Password
User Name: <Enter email address here>
_______________________________________ - Now, have these Mail Client Manual Settings handy.
- Next, install Mozilla Thunderbird and open it and navigate to Tools >> Account Settings >> Account Actions. Under the Account Actions Section, select the first option in the dropdown box which is the Add Mail Client Option. This will open the Account Setup tab as shown below.
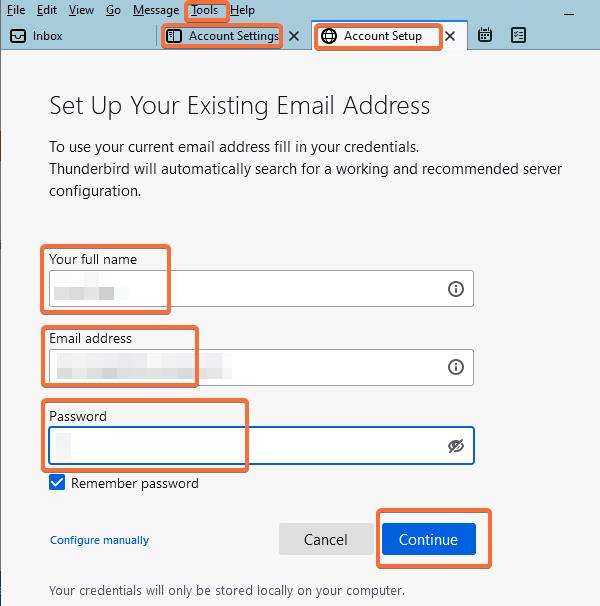
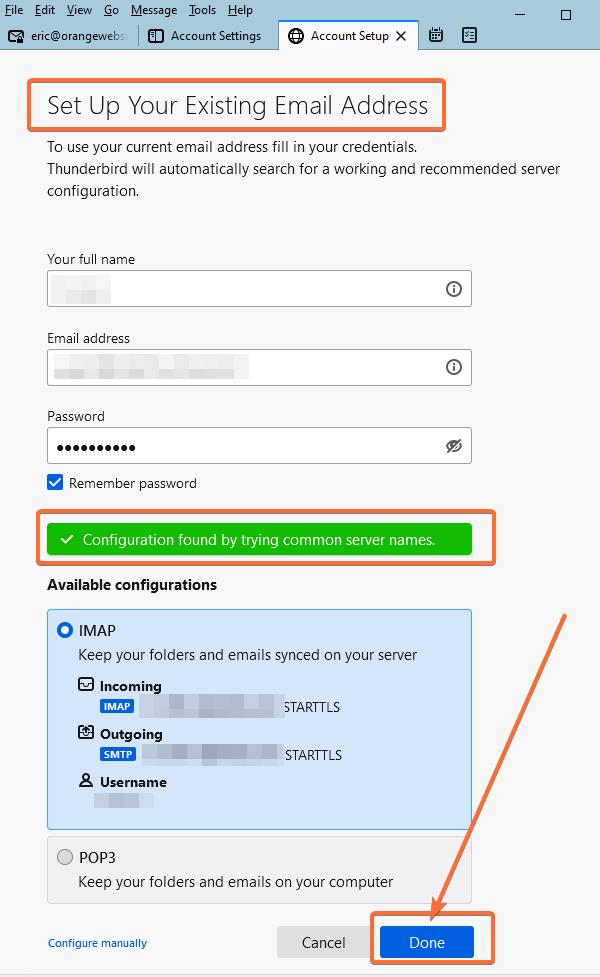
- After entering your full name, complete email address, and password, click on the Continue button. If your credentials are correct, you will see a green confirmation as shown below. Then, click on the button labeled Done.
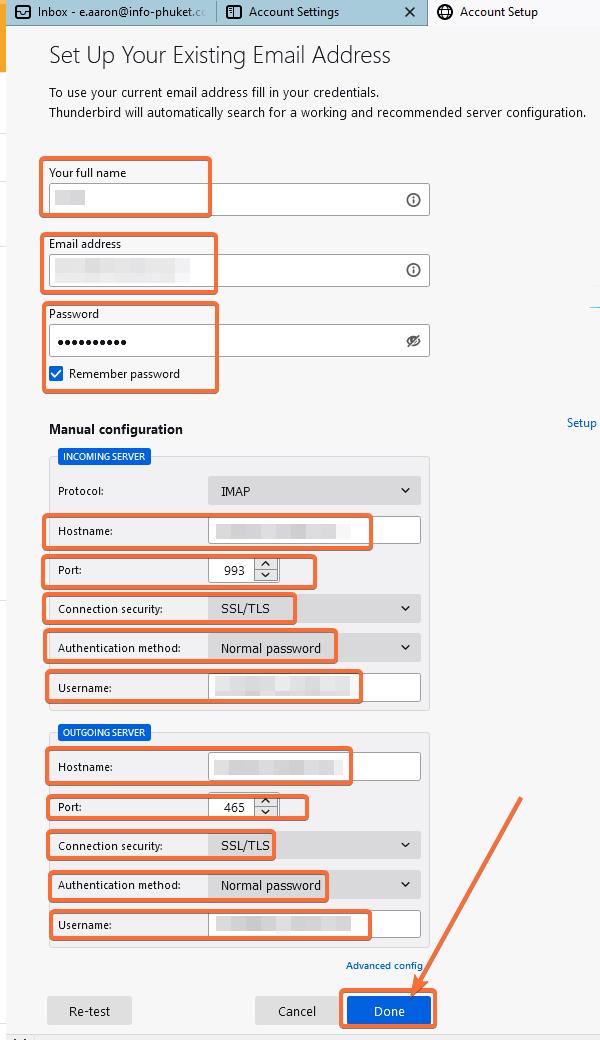
- If Thunderbird failed to find the settings for your email account don’t worry. You will be taken to a page similar to the one below, and you can manually enter the mail configuration. Then, click on the Done button.
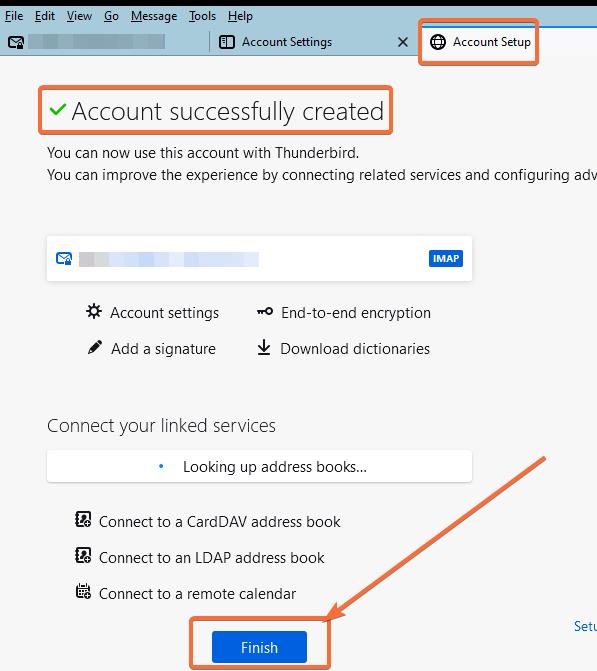
- You’ll be taken to a confirmation tab called “Account successfully created” similar to the one below. Click on the Finish button to complete the process.
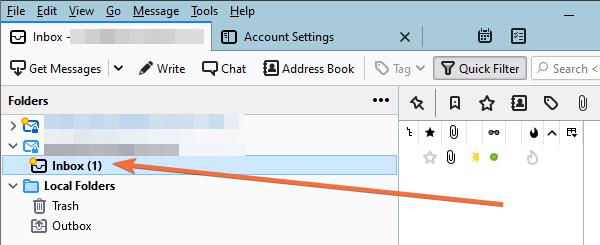
- Now select the first tab and send a test message to another email account. Also, test receiving messages from another account. Note: The original Client Configuration Settings email that was generated when you first created the email account in cPanel should be in your inbox.