Benefits of using Cloudflare include 1). free CDN (content delivery network) to help with site performance resulting in faster page load times, 2). helps stop brute-force attacks and hacking attempts, 3). helps save bandwidth on your server. Here are the step-by-step instructions on how to install LiteSpeed Cache for WordPress (LSCWP).
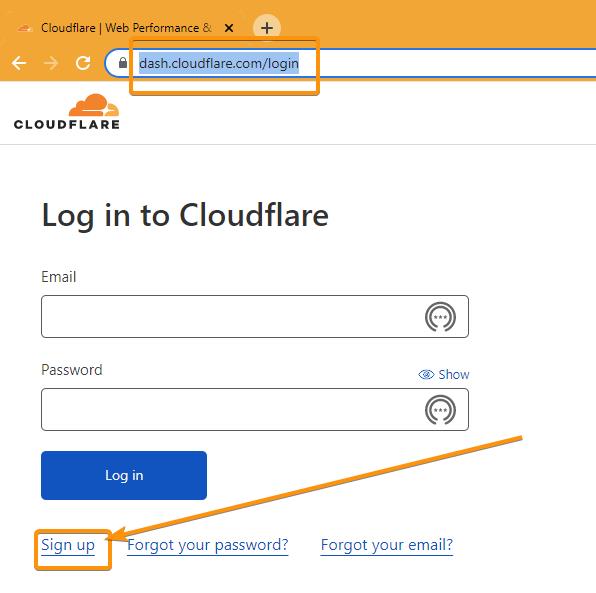
- The first step is to sign up for Cloudflare’s Free Plan and log in to your Cloudflare Dashboard
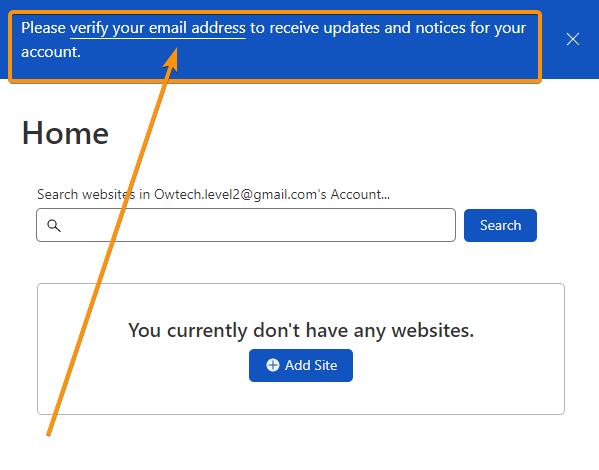
- Log in to your Cloudflare dashboard and make sure you verify your email address.
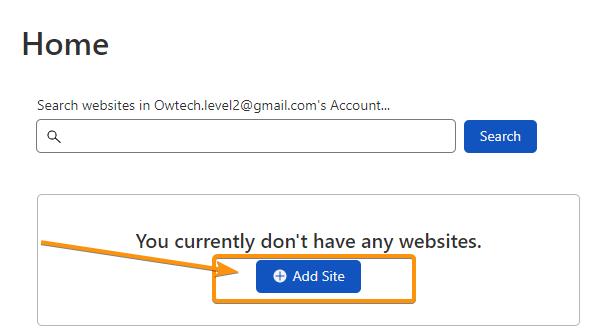
- Next, add your website by clicking on the blue Add Site button:
- You will then see the following page:
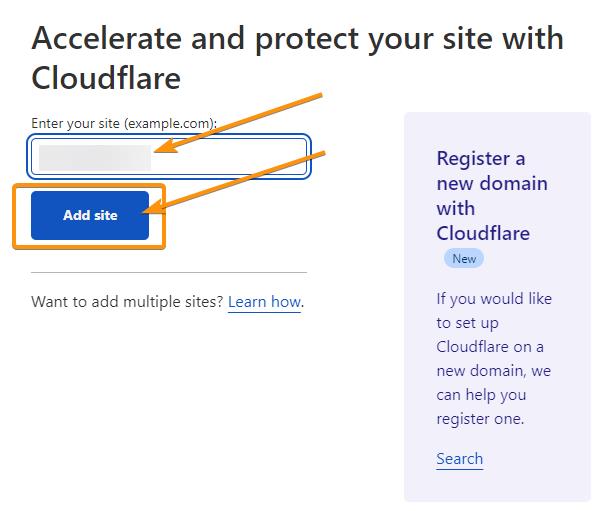
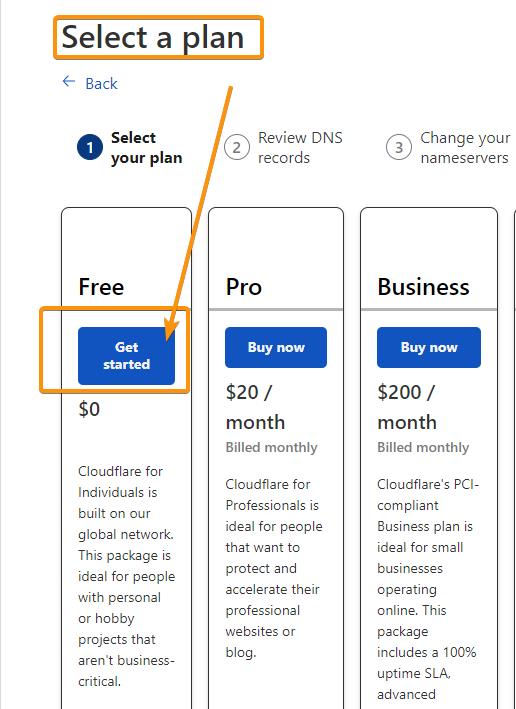
- Next, you will be taken to the Select Plan page. Choose the Free plan for now. You can always upgrade later.
.
- You will then be taken to the Review Your DNS Records page. Review your DNS settings here. Make sure the A Record is the IP Address of your shared server. If you purchased your own dedicated IP Address, then that will be the value of your A Record here. Then click on the blue Continue button at the bottom of the page.
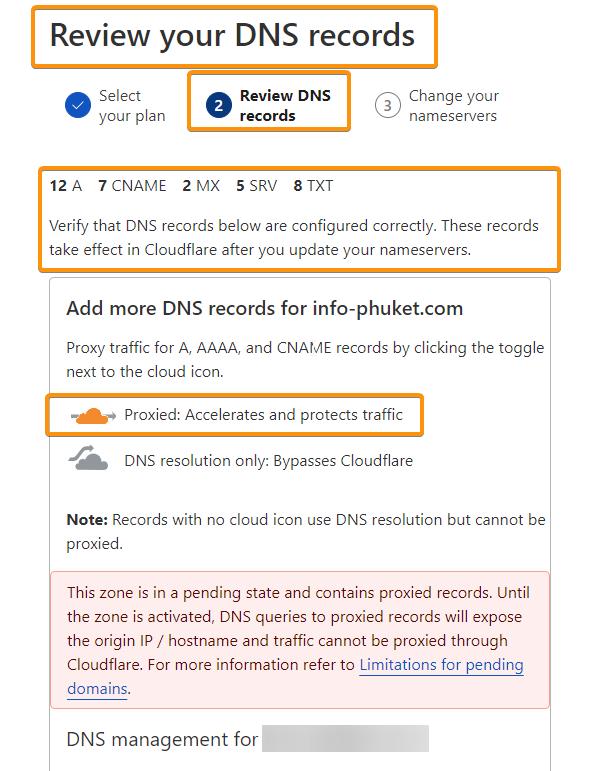
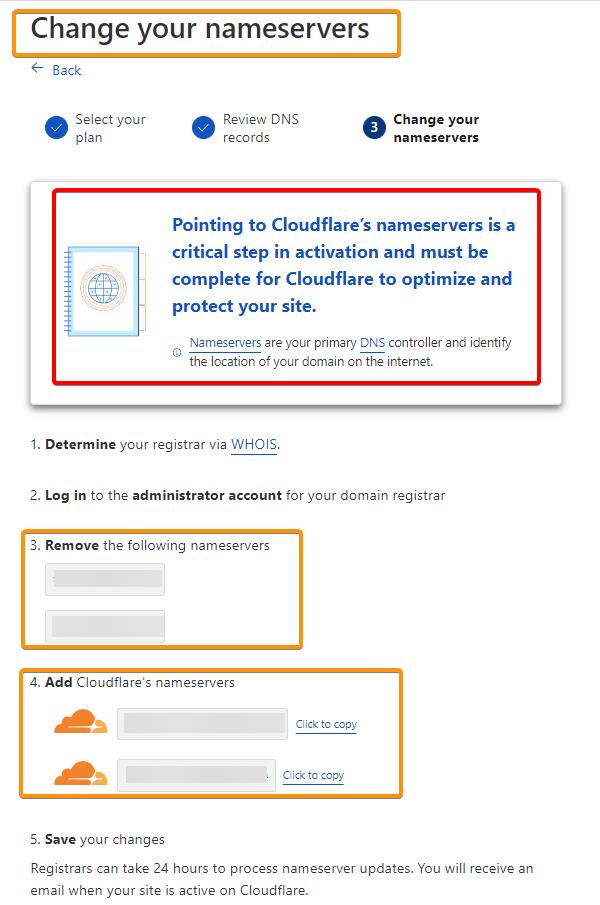
- You will then be taken to the Change your nameservers page. You will be asked to remove your current nameservers and replace them with Cloudflare’s nameservers.
