
Setting Up Softaculous Backups
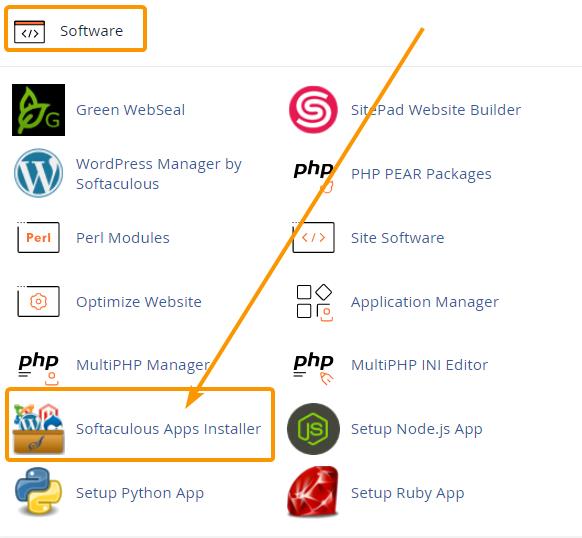
- Log in to your cPanel dashboard and scroll down to Software >> Softaculous Apps Installer.
- You will be then taken t the Softaculous Main page. On the main navigation bar at the top, select the backups and restore icon:
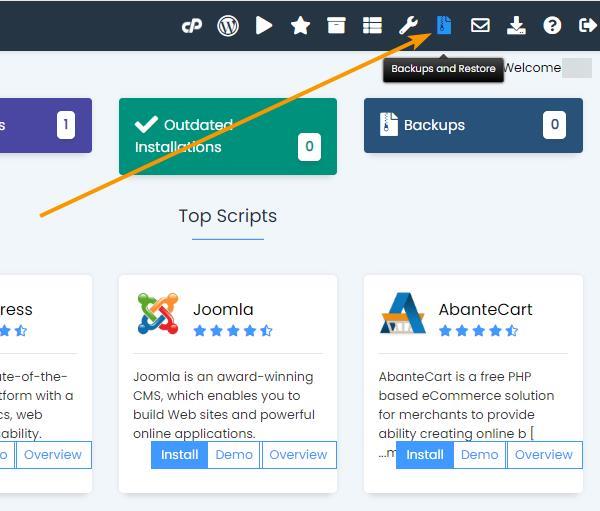
- You can then select an Installation to restore. If you haven’t made a backup yet, then you can make your first backup manually. To do this, click on the WordPress Manager icon on the main navigation bar:

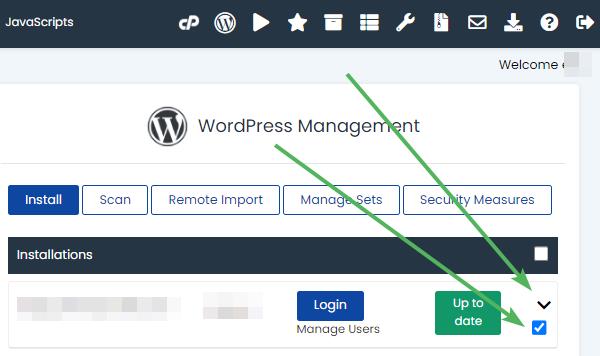
- You’ll see a page similar to the one shown below. Here, click on the box to select which installation you want to do the backup on and then click on the down arrow to expand your options.
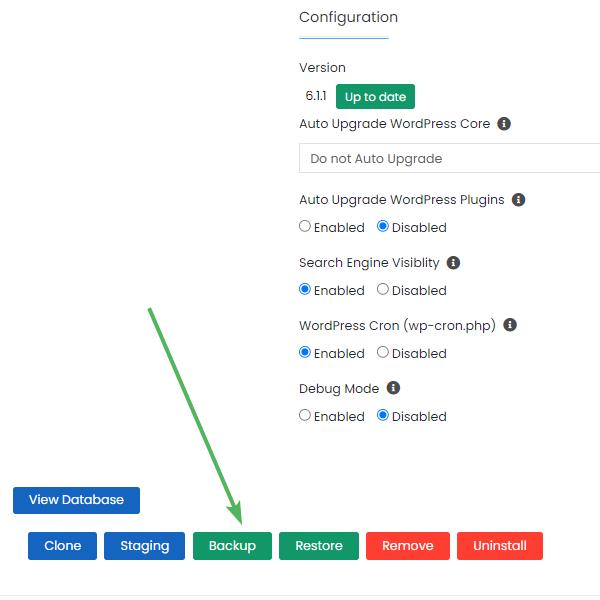
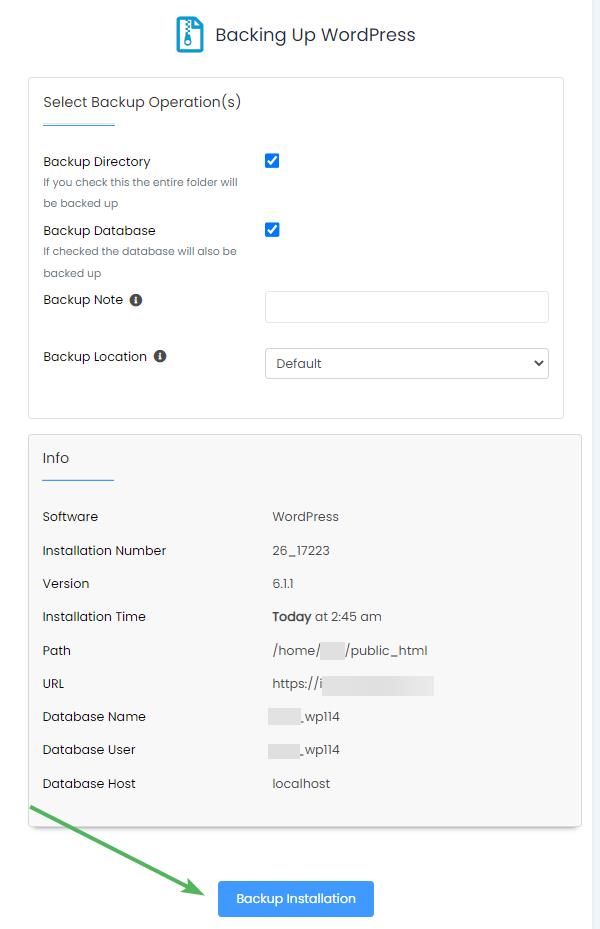
- Next, the page will expand, and you will be given the option to make your first backup by clicking on the green Backup button.
- You will get a confirmation window like the one below. To start the backup click on the blue button labeled “Backup Installation”.
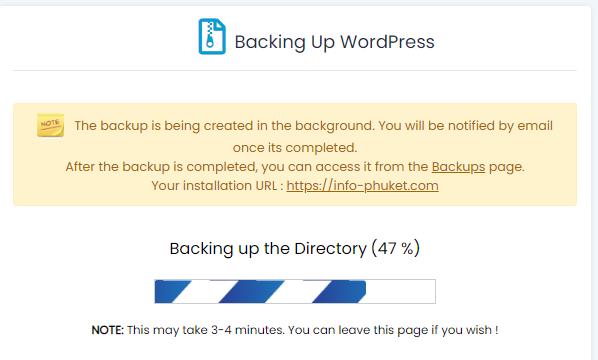
- The following screen will display to confirm that your backup is processing:
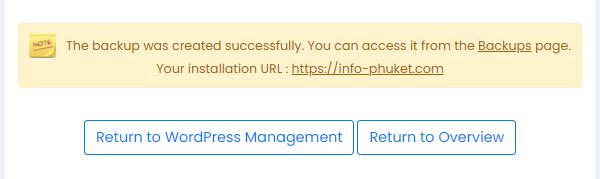
- When the backup is completed, you’ll receive the following confirmation:
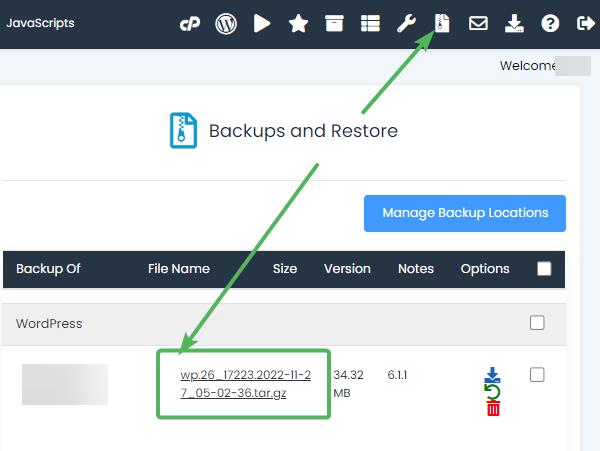
- If you now click on the Backups and Restore icon in the main navigation bar, you will see the backup you just made.
Restoring a Softaculous Backup
So, let’s say that you’re working on your WordPress, and all of a sudden you need to revert back to a previous version. This can happen for kinds of unforeseen reasons. Maybe an automatic WordPress update failed. Or, maybe the last plugin you downloaded and enabled might’ve broken your site. Whatever the case may be, you can find peace in that you can revert back to a previously saved restoration point.
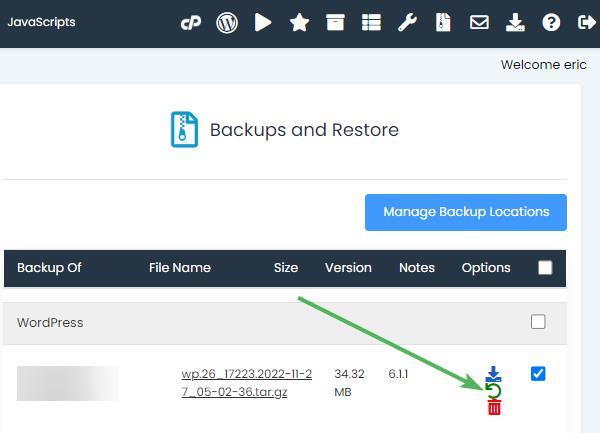
As previously stated, you can navigate to the Backup and Restore Page by clicking on the Backups and Restore icon at the top main navigation bar. When you do this you will see a screen similar to the one above. If you have several restoration points, click on the most recent one. You may have to repeat this process in order to restore the correct point when your last site was working perfectly.
- The first step is to select the backup you want to restore and then click on the green restore icon.
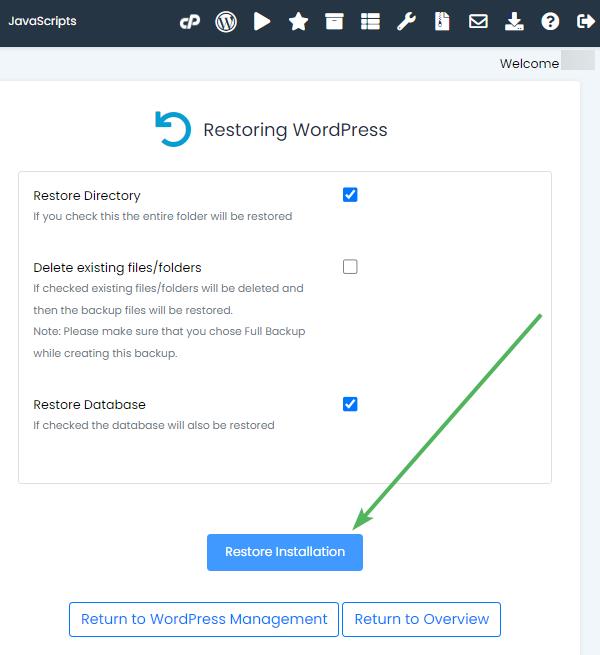
- Confirm your selection by clicking on the blue restore installation button.
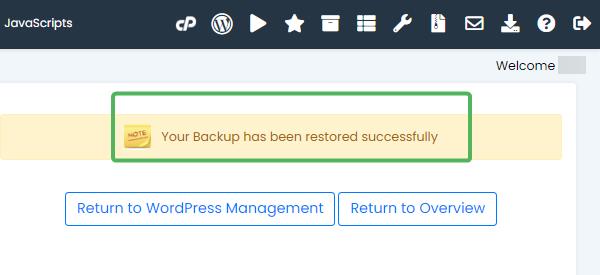
- You will see the following confirmation when the restoration completes successfully:
- Next, open your website to confirm that the Softaculous restoration of your site was successful. It’s important to not only review the home page but also all the subpages you have as well.