A WordPress plugin installation or automatic WordPress update can sometimes corrupt your WordPress core files and one way to solve this problem is to re-upload your WordPress core files.
You’ll need to know which version you’re on. You can determine this in a couple of different ways.
One method is to simply open your WordPress site in a Chrome browser and then click CTRL+U to open up the page’s HTML code. Then do a CTRL+F (find) and search for WordPress.
Alternatively, when you log into your WordPress dashboard, you will see the current WordPress version on the home screen of your WP Admin dashboard: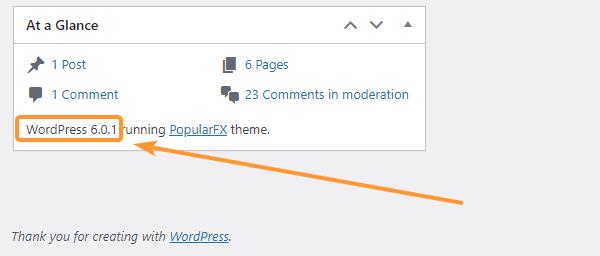
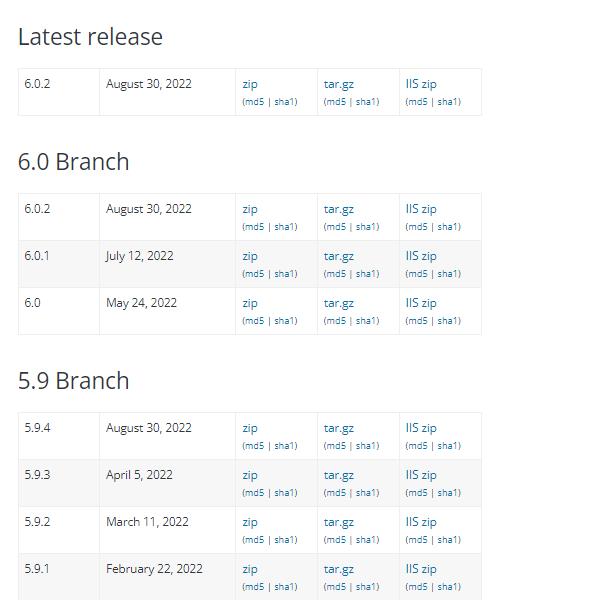
The link where you can download the WordPress core file is: WordPress Releases
At the time of this article, here is a listing of WordPress core files available for download:
Once you’ve downloaded the zip or tar file, all you have to do is upload them to your /public_html/ directory (or the corresponding subfolder if you’re hosting multiple domains from the same cPanel account).
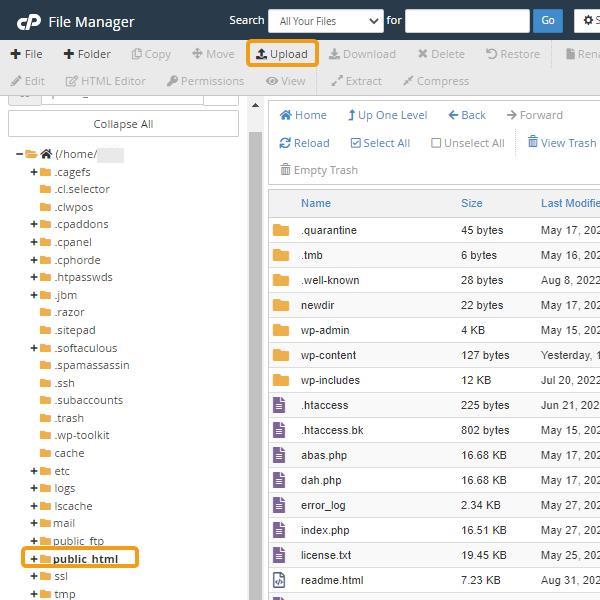
You can upload to the proper directory by using cPanel’s File Manager or FTP.
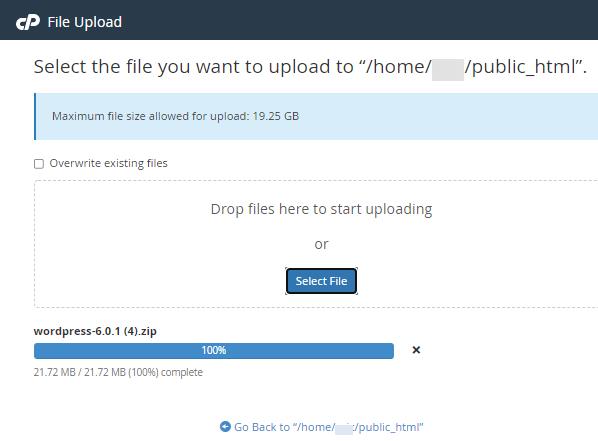
Once the zip or tar file is uploaded to the proper directory, extract it there. This will save the complete core files to a directory called wordpress in your /public_html directory so it will look like this /public_html/wordpress. 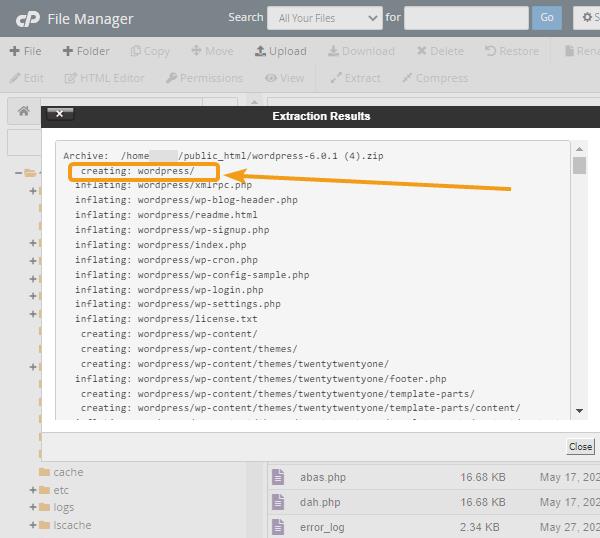
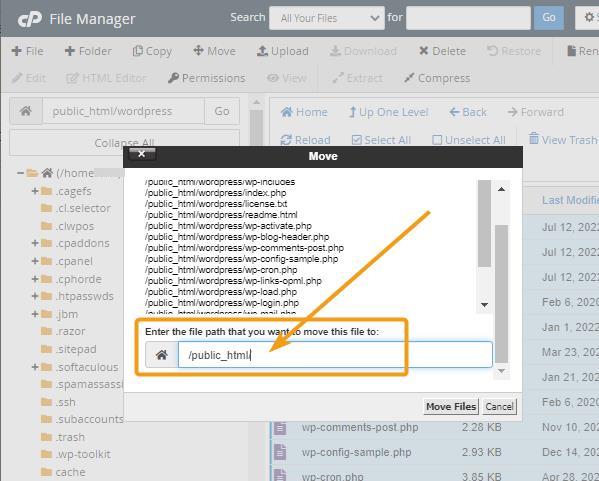
All you have to do after this is move everything (using the FileManager Move tool or FTP drag/drop) from /public_html/wordpress/ to /public_html/. By moving it up one level, you will overwrite existing core files that may have been corrupted. This action also replaces missing core files that may have broken your WordPress site.